PDM Technology, an automation systems integrator in Detroit, faced a vexing challenge. A major cleaning products maker sought a versatile test and inspection system for a versatile line that packed numerous products in aerosol cans. While the differences in containers and closures were a concern, a harsh environment was another obstacle. Finally, the new system needed to reduce the levels of programming and downtime.
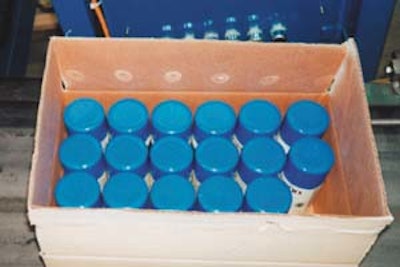
The inspection system would replace a grayscale vision system located after the cans were loaded into an open shipping case. It needed to detect defects such as missing cans or skewed caps, inverted cans, closed flaps or raised cans in cases leading to a case sealer.
The previous system sometimes worked well. However, problems arose when products or caps changed in size or color, sometimes due to manufacturing variations. Because the system was prone to environment changes, like levels of ambient light, it would often malfunction. And this could lead to several hours of downtime to make programming changes.
PDM turned to Laser Measurement Intl. (Southfield, MI) because it had used its sensors in the past. After it learned about the application, LMI recommended the L1 Line Scanner, a three-dimensional non-contact device capable of producing 60 container profiles/sec. “Once we had tested this scanner, we knew that this was the best way to alleviate most of the problems of the former vision system,” says David Baker, president of PDM. “Our software package interfaces nicely with the LMI sensors. That can be a big challenge with some sensor makers.”


